

How To Save Animation In Ansys Workbench
This mail is the 3rd of half dozen and it is an update on making videos of results animations with Ansys Mechanical. A lot of improvements accept been made in contempo releases and you can go adept quality videos that are very useful for sharing results with others.
Getting a video of what you see on the screen
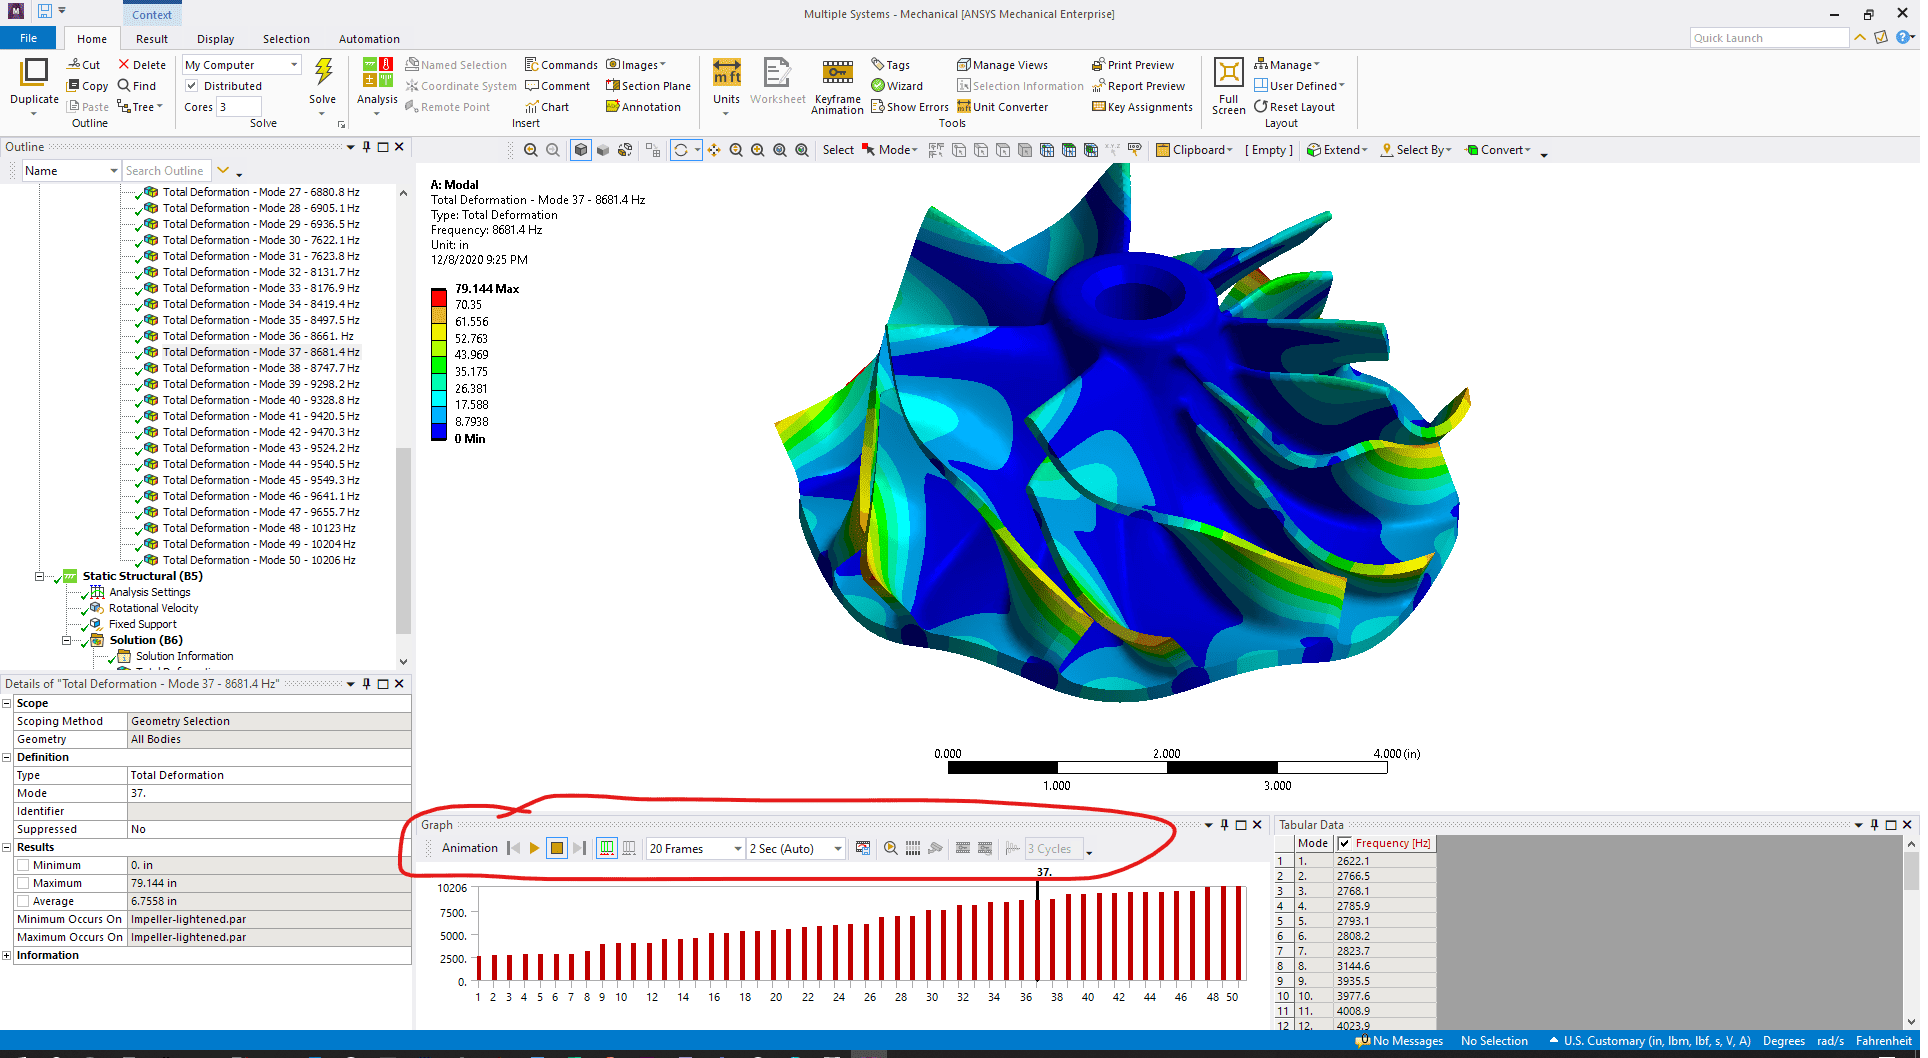
In most cases, you can get the video you demand past using the animation tools built into Ansys Mechanical. By default, the animation tool shows up at the top of the animation window. If information technology is not in that location, become to Home > Layout > Reset Layout. Or add information technology with Home > Layout > Manage > Graph.
The key thing to know near making videos of results in Ansys Mechanical is that the "salve to file" commands practice a screengrab of what y'all see on the screen. Then the size, orientation, and resolution are what is in forepart of y'all.
The Export Video File button is how you save the animation to a file.
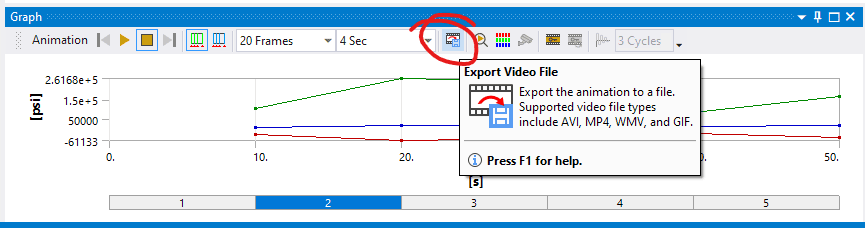
Equally the tip in the image shows, the command supports AVI, MP4, WMV, and GIF formats. We will discuss the formats below and improving quality in the adjacent section. Most of the time, y'all should selection MP4 and save the file.
But start, you should know that there are four things y'all can animate and save to a video file: modal results, static results, results over time, and movement of the photographic camera (keyframe).
Plotting Way Shapes
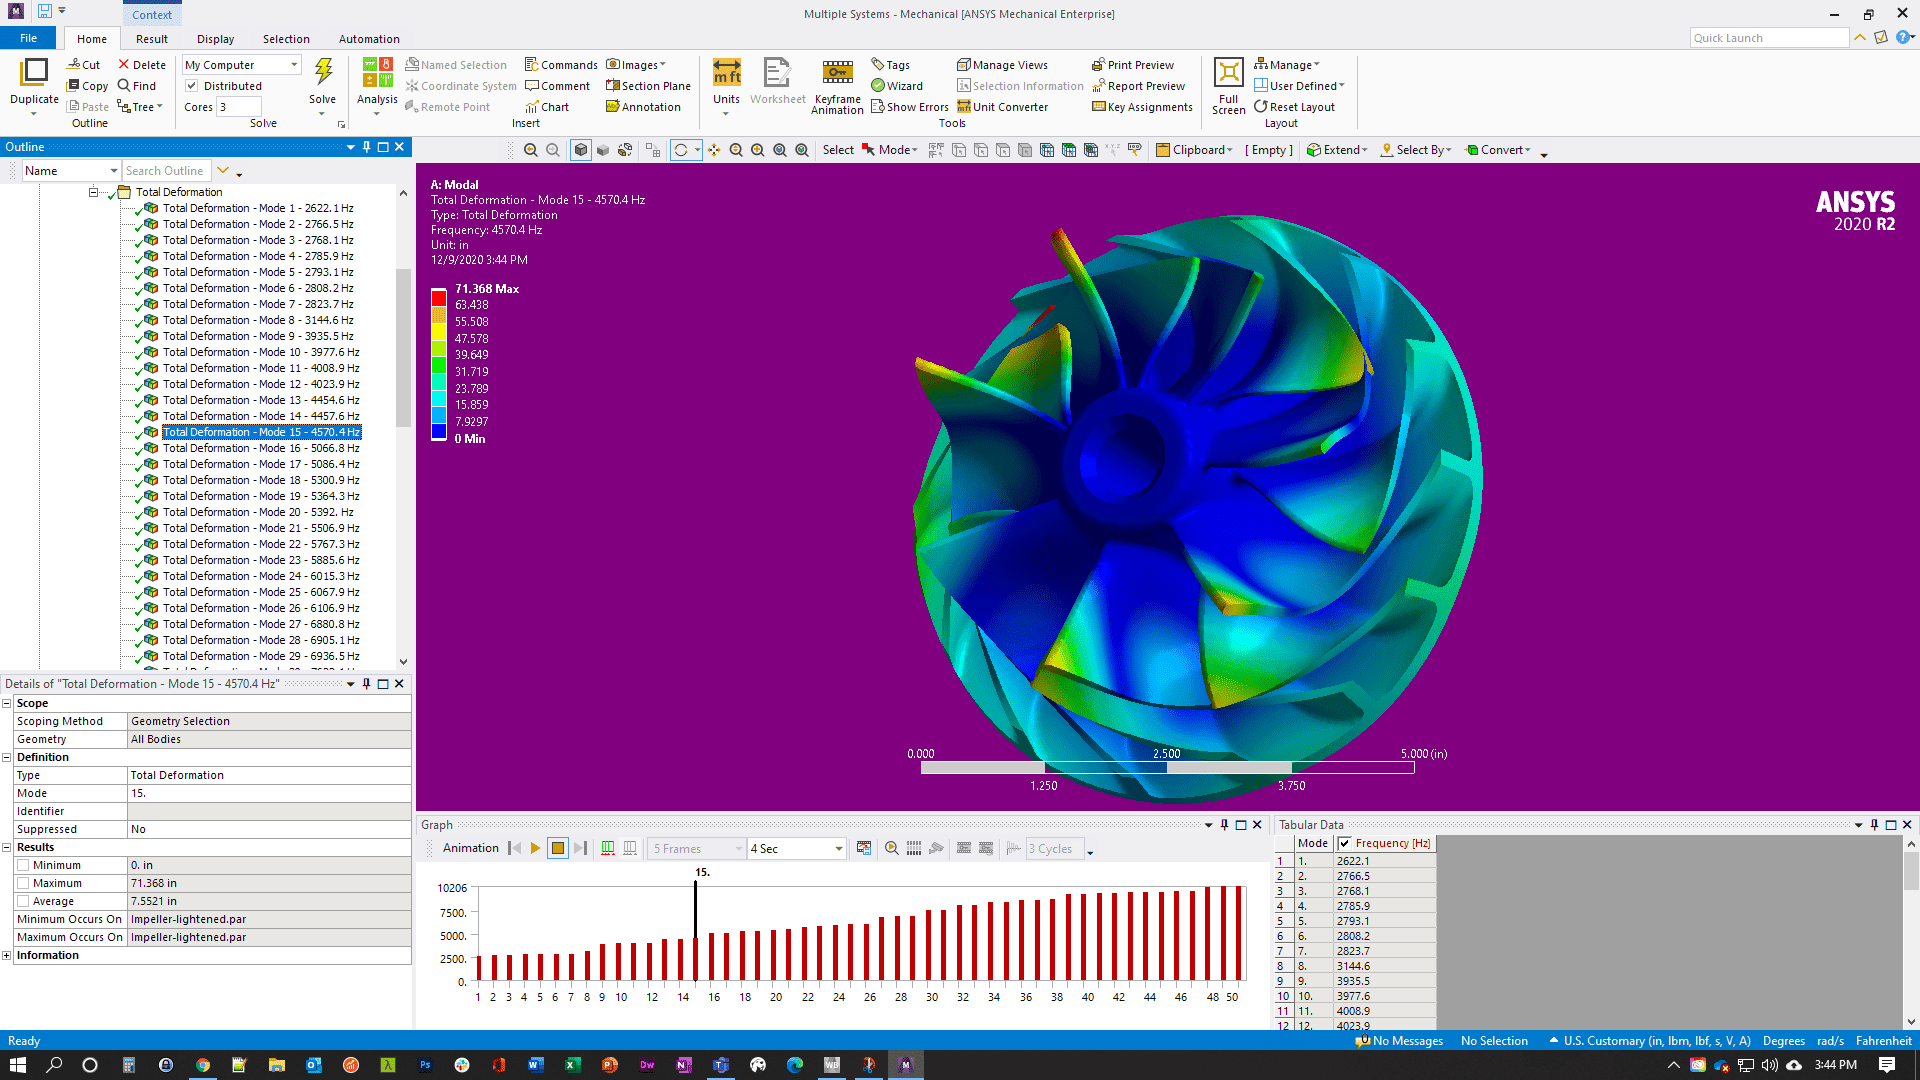
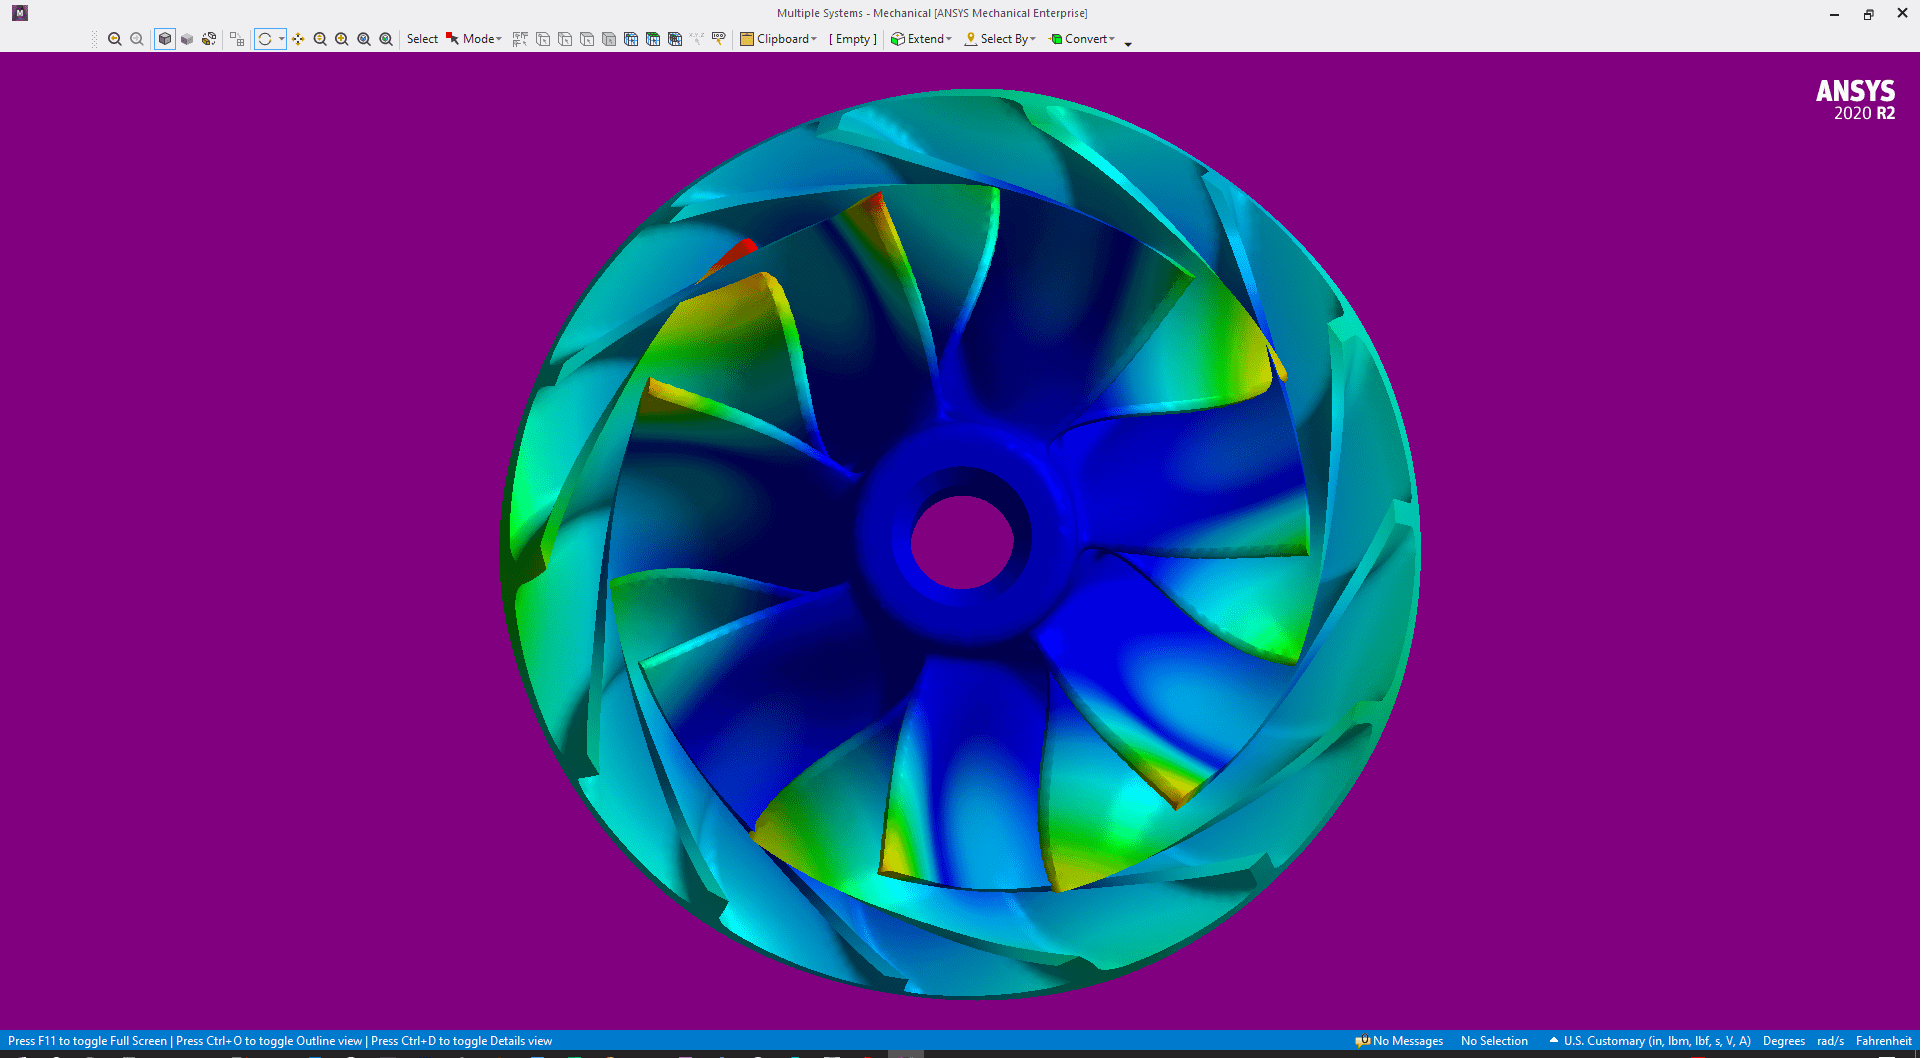
Modal results are the simplest. In our example impeller, you demand to pick the mode you want to view, get the orientation you lot want, and and then click the play button. When y'all are ready to make your video file, click the"Export Video File" button and save it.
Now is a skilful time to explore the different formats. For the sample model I'grand using, the file size for the 3 video formats is pretty much the same:
| MP4 | 1,139 KB |
| WMV | 1,320 KB |
| AVI | 1,120 KB |
| GIF | 29,072 KB |
The Animated GIF is much larger, and it turns out, a much lower quality format. We will cover that in the side by side article, let's just ignore GIF for now.
Taking a expect at the three videos, I'yard not sure I can tell a difference. Note, you lot need to download them and play them on your desktop to see any differences. If we upload to a streaming service and so the format gets changed by the service.
And here information technology is embedded as a YouTube video, which we will do for all the other examples. I used the MP4 format considering I think it might look a little ameliorate.
Static Results
This one is very simple and is identical to style shapes. It plots one result from initial conditions to the final effect. Although in our example, it'south non then useful, for circuitous bending with lots of different loads, it can be handy.
Results Over Time/Steps
The virtually common use for blitheness is looking at results over time or over multiple load steps. I was besides lazy to build a transient example, so I just put some strange acceleration loads on our impeller and varied them over 5 timesteps.
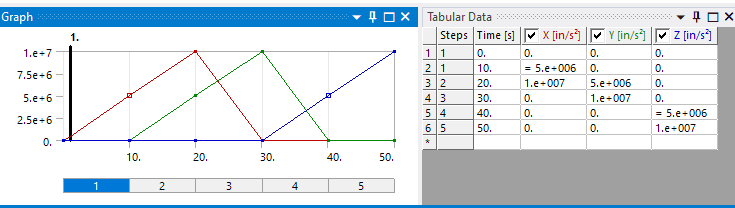
This gave some move of the rotor (nosotros will embrace changing deflection exaggeration in the next section) so you tin can see what is going on.
To get your animation, select the event you want from the tree and orient things in a manner that shows what you demand to evidence. Button play to view. Tweak as needed and so salvage as nosotros did with modal results. This is what you get:
With the default settings, information technology creates the specified number of frames across the whole result set. This uses the "Distributed" setting, the light-green icon. If you watch the vertical line equally it animates, you can run across it linearly interpolating results between result steps.

If you don't want this, then click the blueish icon to get one frame per solution on the result file. This is a expert thought, and even critical, for many transient runs or nonlinear runs where linear interpolation is not correct. Notice how the field for specifying frames is grayed out and ready to five. That is because nosotros have v outcome sets.

To show the divergence, including the graph at the lesser, I actually did a screen recording, which nosotros volition comprehend in the terminal section.
Information technology really is elementary. Get what you want going on your screen, and so save it to a file.
Making it improve
The default settings are not bad for well-nigh situations, only you can get better results with a few minor changes.
Distortion
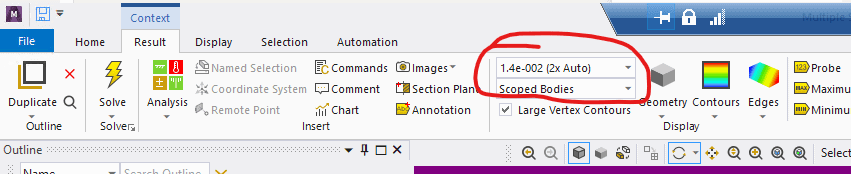
For any blazon of mechanical simulation, you are solving for deflection, and you lot usually want the distorted shape to show up in your blitheness. Nigh of the time the plan calculated exaggeration is just fine. Merely if you lot demand to modify it, use Outcome > Display and the driblet-down for the Deformation Scale Factor. Change information technology and see what happens.
Groundwork
The first thing I ever do is become rid of the blueish gradient background. I reason for this is that the pinch algorithms that various video formats use can cause the background gradient to shift slightly over the video. Or it might reduce the colors. Having a solid background gets rid of that. And, if yous inquire me, it simply looks better.
You can set your preferences for images to always have a white groundwork, but you can't practice that in Animation. And then you lot need to modify the Workbench background.
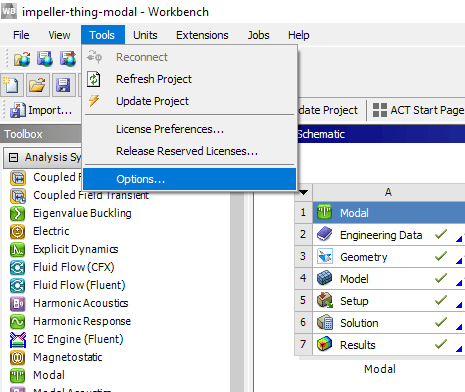
Go to Workbench > Tools> Options…
Then select Advent. Fix Background Way to Compatible and the starting time color to the colour you want. I employ White.
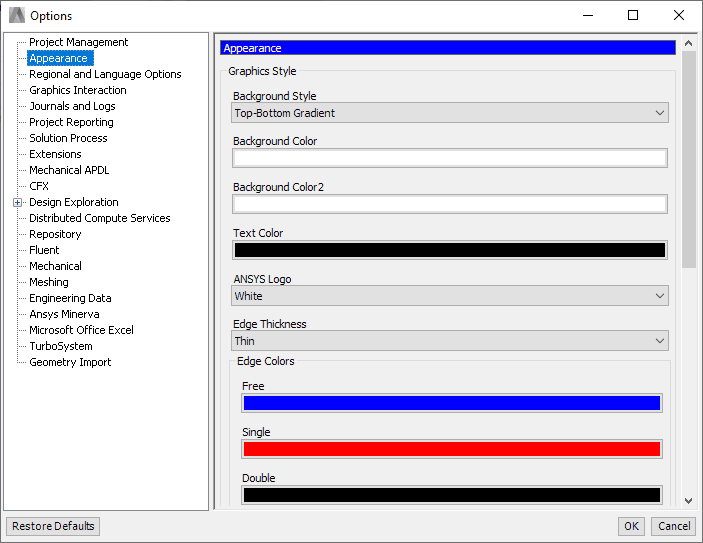
But a rich royal is kind of cool and makes the other colors stand up out:
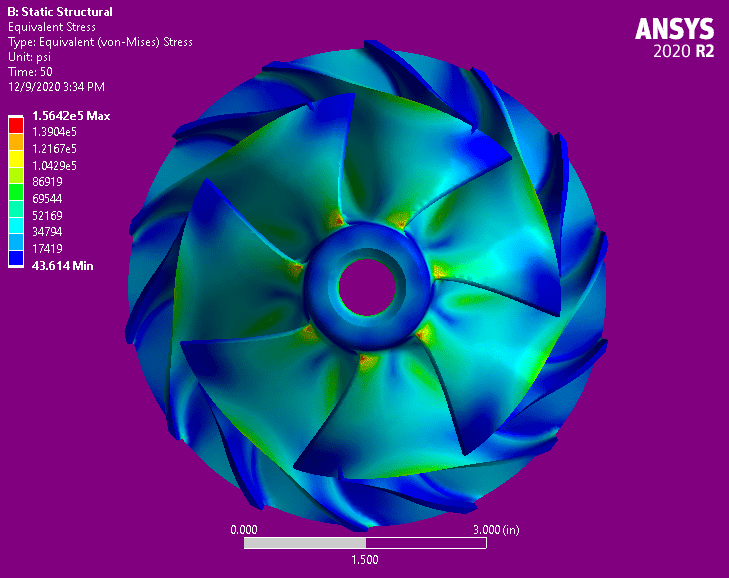
Think to alter this dorsum when you are done making your animations. If you are working on debugging a really tricky model, that purple will burn a pigsty in your head.
Size
Call back, Mechanical is just doing a screen capture in the background, so the size of your plot on your computer screen determines the output. Sometimes you may want a pocket-sized video, sometimes a big one. Let'south look at getting the highest resolution possible.
The graphics window size is adamant past everything around it. By default, the graphics window is embedded, merely with a little play a joke on, yous can set information technology free.
Here is the default on my monitor, my rotor is 584 pixels tall. (my screen is 1080 pixels high.
- Go into full-screen mode by pressing F11 or clicking Home > Layout > Full Screen
- Then click the Ten Tabular information windows to remove information technology.
- Catch the blue strip on the Graph window and drag it to pull it out of the window. You demand to keep that window to save your animation.
- Press CTRL-O to get rid of the outline
- Press CTRL-D to remove the details window.
That gives you a dainty big window of your results. Now my impeller is 911 pixels tall. And I tin can zoom in a little to go it a chip bigger.
But you will notice the screen is wide. If I animate now, for my geometry, I'chiliad wasting a lot of bits storing the background. Click on the "Restore Downwardly" button in the upper right of your window to get information technology out of window'due south total screen. So elevate the edges to go the size and shape that are just big enough to show your results.
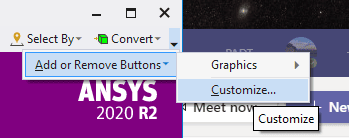
If you desire another 20 pixels (now nosotros are getting greedy) you lot can become rid of the toolbar at the top. Click on the tiny down arrow on the far right of the toolbar. Then click Add or Remove Buttons > Customize. Then uncheck "Graphics."
Now run your animation. Then, when you are happy, save it. You tin can bring the outline dorsum with CTRL+O if you demand it. If you need more pixels, get a higher resolution monitor or stretch the graphics window over multiple monitors.
I'k working on a Microsoft Surface, and I've been doing my animations on my portable monitor, which is simply 1080 pixels high. To become the best prototype, I moved over to the primary screen, which is 1824 loftier.
And so with all the tricks and on my highest resolution monitor, I get a video that is 1785 pixels high, and information technology looks pretty practiced, fifty-fifty afterward YouTube compresses it:
Here is the file to view on your own car:
Important! To become back hitting F11 and then Home > Layout > Reset Layout. You lot may have to also do Domicile > Layout > Manage > Tabular Data to get that window back and Home > Layout > Manage > Graphics Toolbar to add that back to the top of the graphics window
Frames & Time
The last thing to play with is the number of frames and the length. A good rule of thumb is to not have less than ten frames per second. And greater than twenty is good. Prepare it to 5 Frames and five Seconds to run across blocky. Then 100 Frames and 5 Seconds (20 frames/sec) to see everything smooth.
Moving the object with Keyframe blitheness
If yous want the object to movement during an animation, you can use what is called Keyframe animation. To be honest, I am not sure I'm using it right in the programme, but I got information technology to work somewhat, so I'll share what I did. I'm also only going to cover the basics, see the documentation for more.
Commencement, open the Keyframe Animation tool with Domicile > Tools > Keyframe Animation.
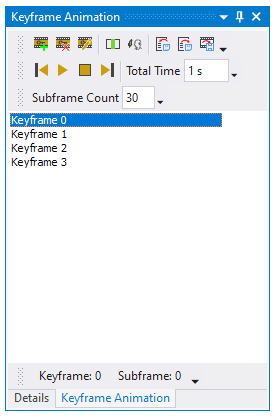
Orient your parts the mode y'all desire them, and click the add Keyframe button. The ane with the green plus.
At present pick your second orientation, and add it to the list. Keep going till yous have all your orientations in in that location. Set the time to something like 4 or five seconds, and hit play.
Now, getting a little fancy, yous tin add together pauses at any Keyframe if you desire. Exercise this by double-clicking on the Keyframe step to orient the part, then click the Insert Keyframe icon (acme row, 4th from the left) to make a copy. You at present take ii keyframes at the same orientation so your part won't motion.
This window has a save animation button likewise, so save information technology. When I used it, this is what I got:
This spins the last distorted shape, not the animated shape.
If you look at results that are not from a modal run, you will see that you can breathing the results over time by clicking on the Keyframe icon in the animation bar:

The beginning icon, ruby circle, tells the program to change the orientation every bit defined in the Keyframe Animation Window while it animates your results. Click on the second icon, dark-green circle, to use the frame counts you have specified in your Keyframe Animation Window.
This is what the multi-stride results look like over the movement:
What about modal? Well in theory you lot tin can't plot a manner shape with keyframe animation. Only… if yous prepare upward a keyframe for a non-modal result, run it. Then move to a modal consequence, it works, sort of. The results breathing if you take ii keyframes that are the aforementioned next to each other. This is non a documented characteristic and may even be a bug. But here is how it looks:
When all else fails, make your own recording
Sometimes you tin't go what you need saved to a file, but you lot can see it on the screen. Including the Graph window is a good example. Rotating a modal consequence, since Keyframe really doesn't work with modal, is another good instance. Now that we all have learned to use online meeting software through COVID-19, we know how to do a screen capture of the blitheness. I use MS Teams and it works but fine.
But, the quality is OK and you get artifacts from the meeting, like my icon on the bottom for attendees. Those tin be edited out, but not ideal. Here is a sample:
If you need better quality, a dedicated screen capture plan may be better.
And it turns out that Windows 10 had a built-in screen recorder. It's chosen XBOX Game Bar, and it works pretty well. Here is a link on how to use it.
And I get a prissy total-screen video:
Play, but non too much, and RTM.
The final bit of advice nosotros tin requite on animating in Ansys Mechanical is that if you want something beyond the defaults, set bated some time to play. At that place are a lot of options, many we accept non even looked at. But at the aforementioned time, in your quest for an Oscar, you lot may be spending time on something that is non going to brand a deviation. So use your time wisely.
And as always, Read the Transmission. There is a wealth of detailed information in that location.
Getting the right Animated GIF
Now that we have covered creating diverse video formats, what about making an animation that doesn't demand some sort of role player? The adjacent mail service, "4 – An update on outputting results in Ansys Mechanical: Animated GIFs" explains how to do that.
Source: https://www.padtinc.com/2021/01/06/ansys-mechanical-outputting-results-3-video/
Posted by: karlsonopli1944.blogspot.com
0 Response to "How To Save Animation In Ansys Workbench"
Post a Comment